|
|
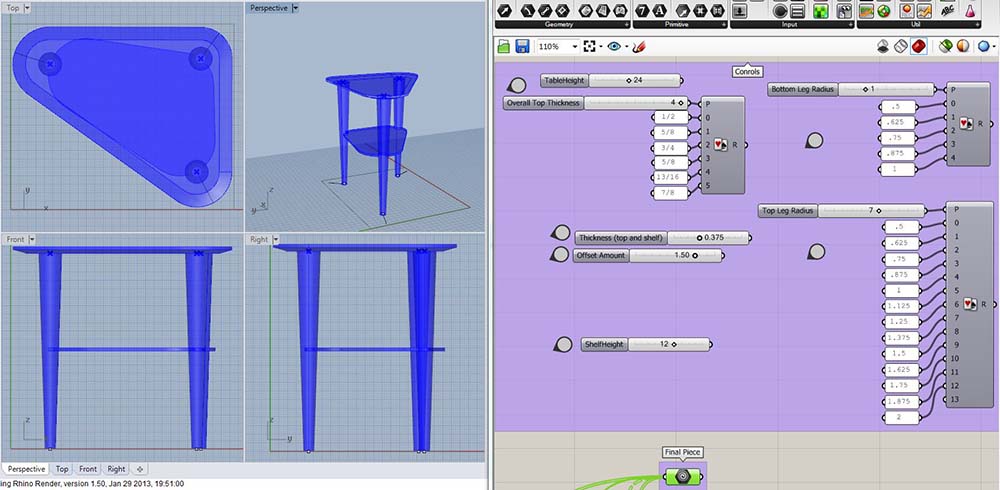
This project was about modeling a simple object entirely in Grasshopper. The only input from Rhino are three lines. From those lines I pull the end points. One of the points determines the center of the leg, the other is used to determine the radii of the table top. The rest of the parameters are defined in Grasshopper with sliders. It does take a bit more time to create a definition rather than just sketch it out and start making but the ability to move a slider and have those changes enacted in real time a remarkable reward.
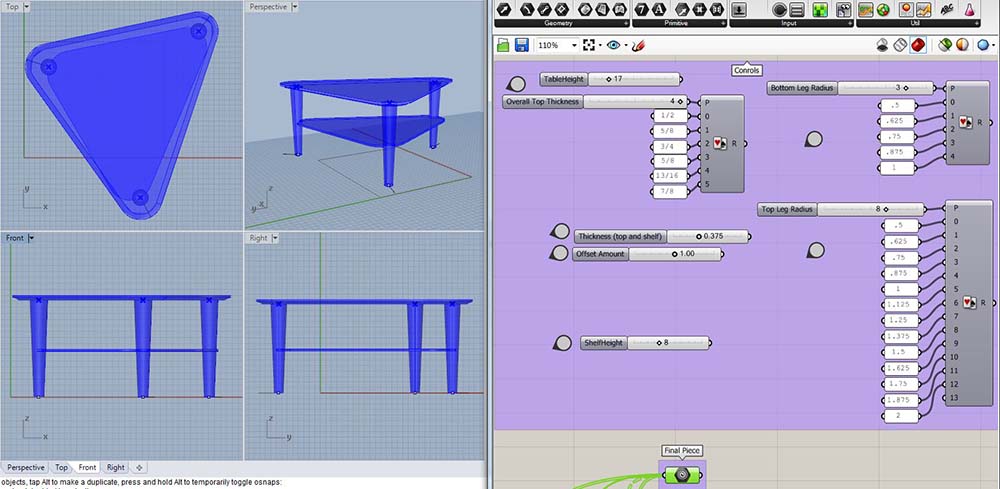
Above is a screen-shot of my Rhino view-port (left) and grasshopper canvas (right). The blue geometry in the Rhino view-port is created by a sequence of operations which I defined in grasshopper (which is hidden from view here). As you can see by comparing the images above and below, when changes are made to the parameters they are reflected in the drawing in real time. |
This allows for an extremely intuitive and responsive way to isolate design thinking. The beauty in this approach, called Parametric Design, is that once you have done the work to set up a definition, optimization is extremely efficient revision process |
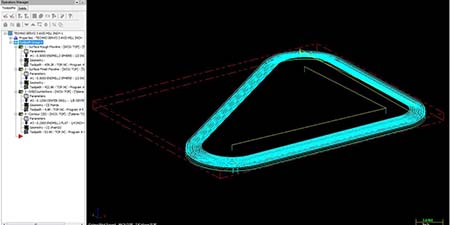
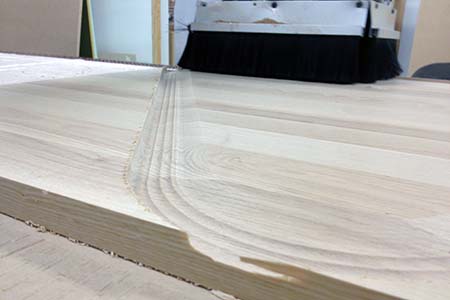
Above is the tool-path representation for bottom side of the top of the table. It has a chamfer that was swept around the perimeter, creating a surface. |
Here is a representation of the part during the first tool path which is offered in MasterCAM by utilizing the simulate interface. |
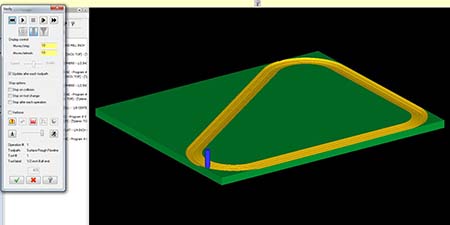
Typically it's fastest to remove bulk material in one tool path, then refine the surface with a finish pass which is shown above. This simulate interface isn't the best, but it does show an animated visualization of the machining process including any errors that may be present in the file such as tool collisions. |
 |
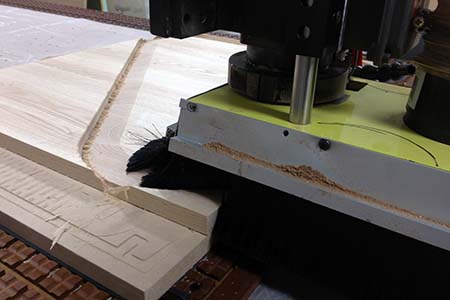
Above is the actual roughing pass. I think this is being cut with a 3/8 inch bit and a 3/16 inch step over |
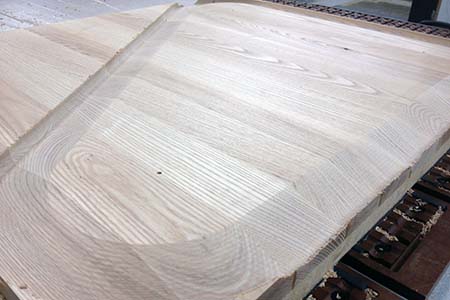
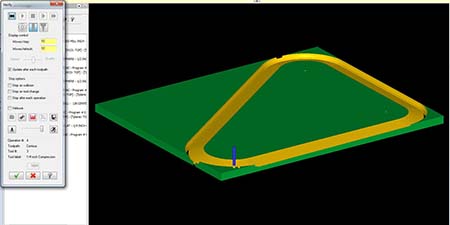
The finish pass reveals a much nicer surface. Next will be the contour pass to remove excess material and create the outline of the table top. |
 |
 |
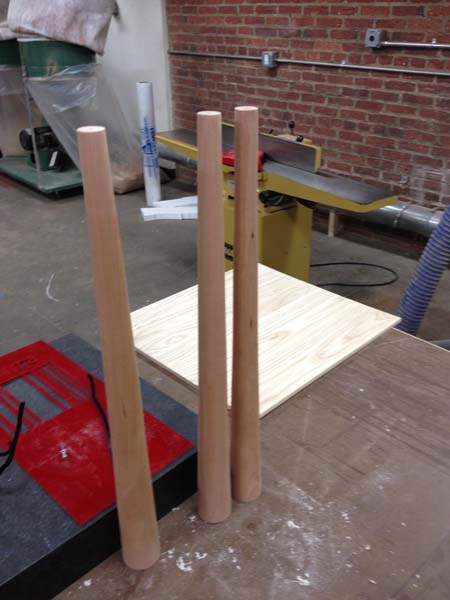
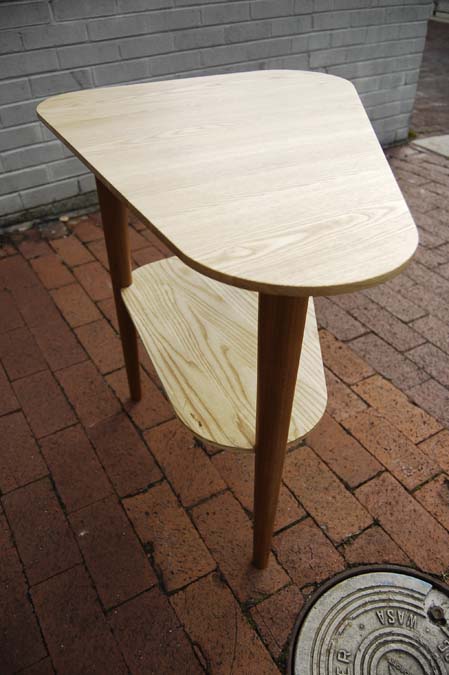
I turned these legs from 8/4 cherry on the lathe by hand. |
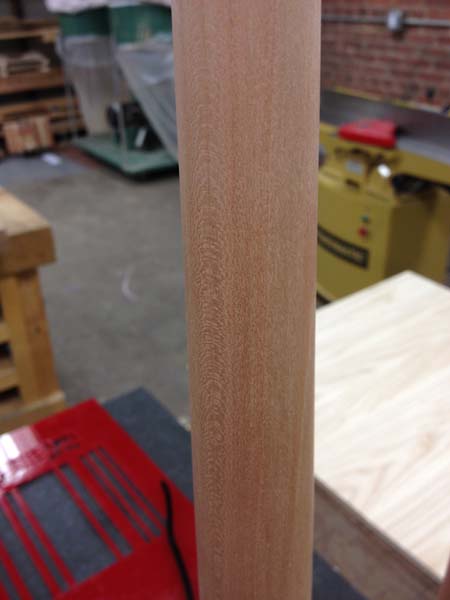
Using a mark every 4 inches and noting the diameter I was able to make the legs all with the same taper. |
 |
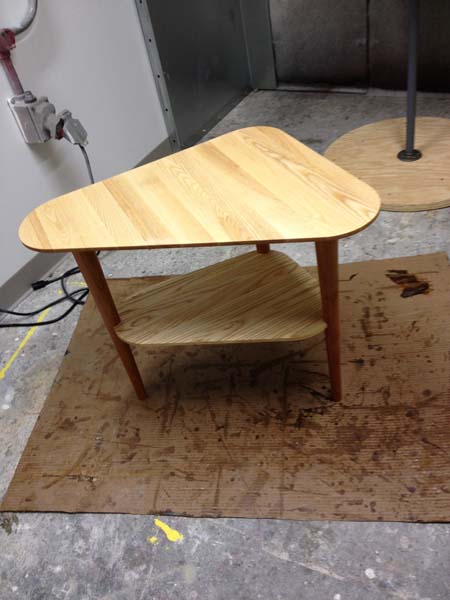 |
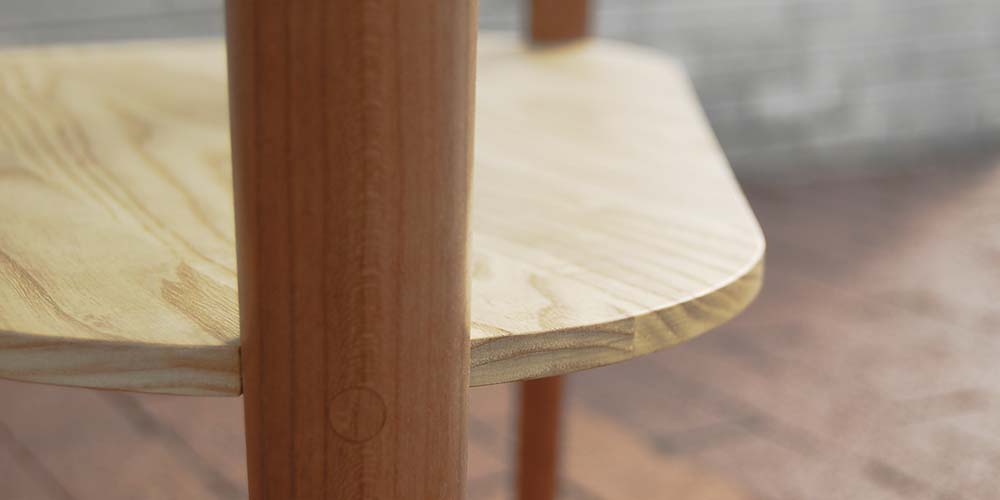
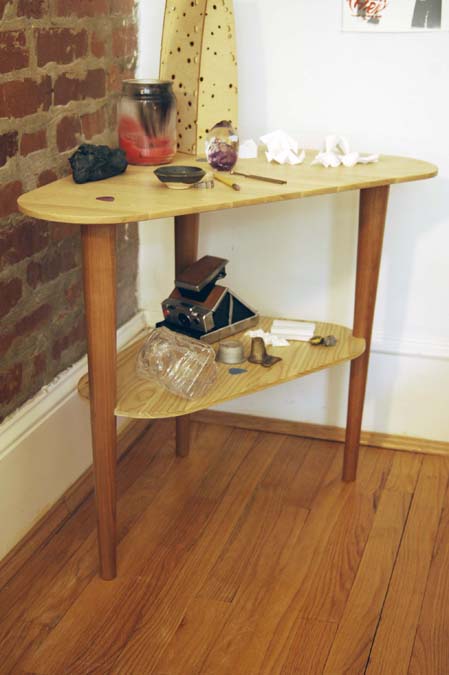
The bottom shelf is connected with a capped screw. It's arguably a fragile connection in 3/8 in thick material. But, I'm pretty hard on things and as I'm writing this almost a year later everything is pretty solid